10.4 Yi 部署与分析
Yi 简介
Yi是由零一万物开源的大语言模型,目前(2024年4月16日)包括6B和34B-chat版本,base版本有6B、9B和34B。
零一万物是2023年7月,李开复筹组新公司,部注册于北京,集中在大模型技术、人工智能算法、自然语言处理、系统架构、算力架构、数据安全、产品研发等领域。
更多信息:
- 公司官网:https://www.lingyiwanwu.com/
- HF: https://huggingface.co/01-ai
- github: https://github.com/01-ai
- LLM-github:https://github.com/01-ai/Yi
- 技术报告:https://arxiv.org/abs/2403.04652
部署安装
第一步,代码下载
git clone https://github.com/01-ai/Yi.git
第二步,权重下载
git clone https://www.modelscope.cn/01ai/Yi-6B-Chat-4bits.git
第三步,量化环境安装
int4和int8分别需要AWQ和GPTQ环境
pip install autoawq

https://github.com/casper-hansen/AutoAWQ?tab=readme-ov-file#install-from-pypi
https://github.com/AutoGPTQ/AutoGPTQ?tab=readme-ov-file#quick-installation
第四步,配置代码中模型路径
parser.add_argument(
    "-c",
    "--checkpoint-path",
    type=str,
    default=r"G:\04-model-weights\Yi-6B-Chat-4bits",
    help="Checkpoint name or path, default to %(default)r",
)        default=r"G:\04-model-weights\Yi-6B-Chat-4bits",
第五步,运行代码
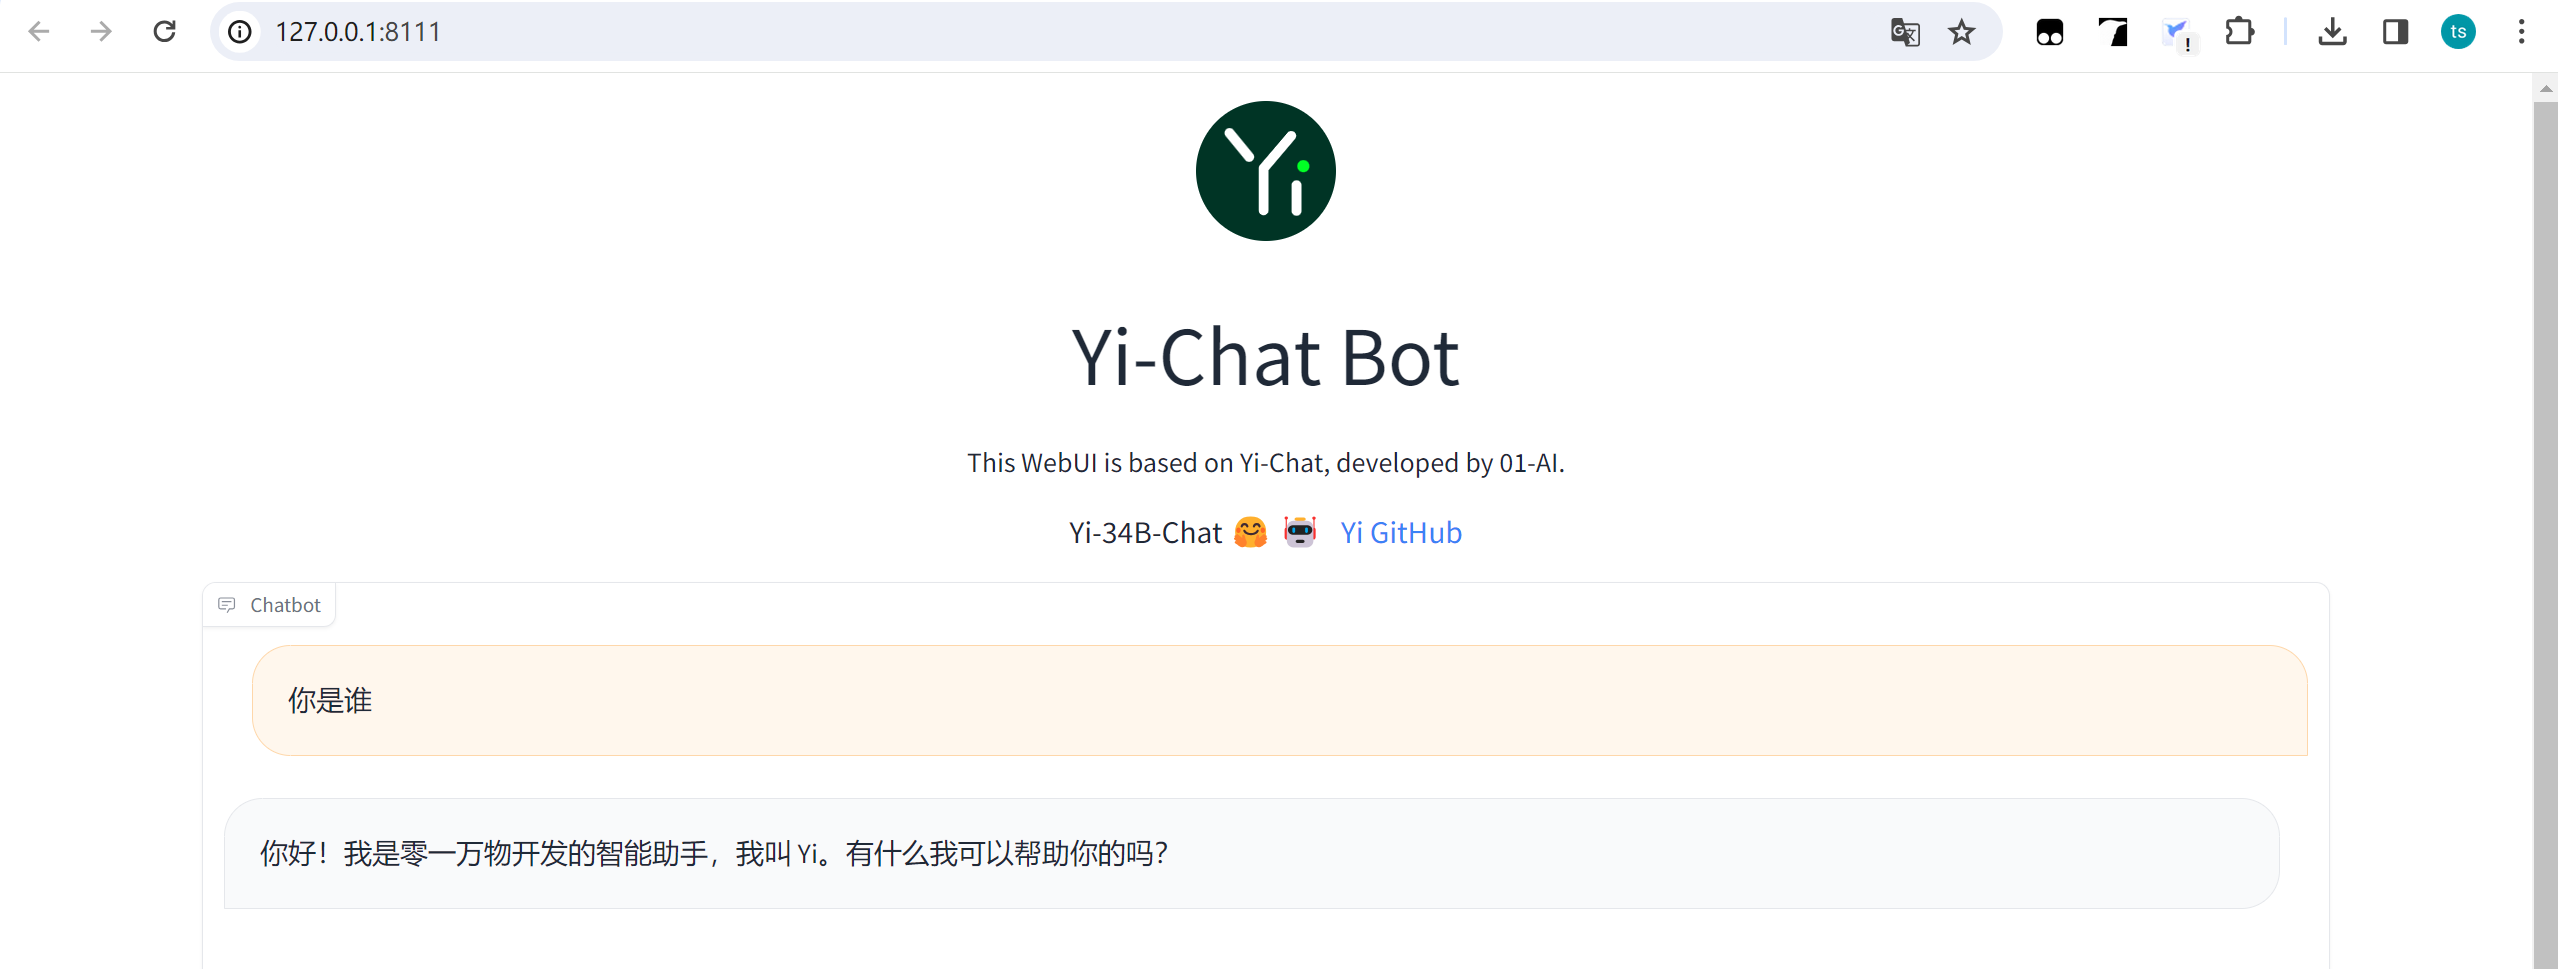
Yi没有提供命令行的交互demo,提供的事web ui版,运行Yi\demo\web_demo.py 即可跳出基于gradio的交互界面。
修改后的代码可参考github
模型UML分析
Yi的github仓库及模型权重仓库均未找到类似Qwen、ChatGLM、Baichuan那样的模型文件,因此无法深入探究模型结构。
为了探究Yi模型的推理步骤,debug观察到以下信息,供流程分析所用。
- model = AutoModelForCausalLM.from_pretrained 获得的模型是LlamaForCausalLM类,其中的核心model是LlamaModel
LlamaForCausalLM(
  (model): LlamaModel(
    (embed_tokens): Embedding(64000, 4096)
    (layers): ModuleList(
      (0-31): 32 x LlamaDecoderLayer(
        (self_attn): LlamaSdpaAttention(
          (q_proj): WQLinear_GEMM(in_features=4096, out_features=4096, bias=False, w_bit=4, group_size=128)
          (k_proj): WQLinear_GEMM(in_features=4096, out_features=512, bias=False, w_bit=4, group_size=128)
          (v_proj): WQLinear_GEMM(in_features=4096, out_features=512, bias=False, w_bit=4, group_size=128)
          (o_proj): WQLinear_GEMM(in_features=4096, out_features=4096, bias=False, w_bit=4, group_size=128)
          (rotary_emb): LlamaRotaryEmbedding()
        )
        (mlp): LlamaMLP(
          (gate_proj): WQLinear_GEMM(in_features=4096, out_features=11008, bias=False, w_bit=4, group_size=128)
          (up_proj): WQLinear_GEMM(in_features=4096, out_features=11008, bias=False, w_bit=4, group_size=128)
          (down_proj): WQLinear_GEMM(in_features=11008, out_features=4096, bias=False, w_bit=4, group_size=128)
          (act_fn): SiLU()
        )
        (input_layernorm): LlamaRMSNorm()
        (post_attention_layernorm): LlamaRMSNorm()
      )
    )
    (norm): LlamaRMSNorm()
  )
  (lm_head): Linear(in_features=4096, out_features=64000, bias=False)
)
- 在模型权重的config.json中,体现模型架构为LlamaForCausalLM
{
  "architectures": [
    "LlamaForCausalLM"
  ],
  "attention_bias": false,
  "bos_token_id": 1,
  "eos_token_id": 2,
  "hidden_act": "silu",
  "hidden_size": 4096,
  "initializer_range": 0.02,
  "intermediate_size": 11008,
  "max_position_embeddings": 4096,
  "model_type": "llama",
  "num_attention_heads": 32,
  "num_hidden_layers": 32,
  "num_key_value_heads": 4,
  "pretraining_tp": 1,
  "quantization_config": {
    "bits": 4,
    "group_size": 128,
    "quant_method": "awq",
    "version": "gemm",
    "zero_point": true
  },
  "rms_norm_eps": 1e-05,
  "rope_scaling": null,
  "rope_theta": 5000000.0,
  "tie_word_embeddings": false,
  "torch_dtype": "float16",
  "transformers_version": "4.35.0",
  "use_cache": true,
  "vocab_size": 64000
}
Prompt 结构分析
web_demo.py代码结构整体基于transformers库的工具来实现,推理采用流处理,基于transformers的TextIteratorStreamer实现,模型单次推理由TextIteratorStreamer代理,这里不深入。
这里看看Yi源代码中的predict函数,该函数对历史对话进行了处理,实现多轮对话的Prompt处理。大体可分为4步:
第一步:将历史信息转为模型输入的tokens_ids, 这一步调用transformers的apply_chat_template接口功能实现;
第二步:创建流处理器TextIteratorStreamer
第三步:组装本轮对话所需信息,generate_kwargs
第四步:启动线程执行model.generate, 从流处理器streamer中拿单次推理的结果
由于大部分是transformers库的代码,此处就不深入展开了
def predict(history, max_length, top_p, temperature):
    stop = StopOnTokens()
    messages = []
    for idx, (user_msg, model_msg) in enumerate(history):
        if idx == len(history) - 1 and not model_msg:
            messages.append({"role": "user", "content": user_msg})
            break
        if user_msg:
            messages.append({"role": "user", "content": user_msg})
        if model_msg:
            messages.append({"role": "assistant", "content": model_msg})

    print("\n\n====conversation====\n", messages)
    model_inputs = tokenizer.apply_chat_template(
        messages, add_generation_prompt=True, tokenize=True, return_tensors="pt"
    ).to(next(model.parameters()).device)
    streamer = TextIteratorStreamer(
        tokenizer, timeout=60, skip_prompt=True, skip_special_tokens=True
    )
    generate_kwargs = {
        "input_ids": model_inputs,
        "streamer": streamer,
        "max_new_tokens": max_length,
        "do_sample": True,
        "top_p": top_p,
        "temperature": temperature,
        "stopping_criteria": StoppingCriteriaList([stop]),
        "repetition_penalty": 1.2,
    }
    t = Thread(target=model.generate, kwargs=generate_kwargs)
    t.start()

    for new_token in streamer:
        if new_token != "":
            history[-1][1] += new_token
            yield history
小结
通过Yi的代码,可以了解如何快速基于transformers构建一个LLM推理部署代码。
并且可以了解GPTQ和AWQ的部署需要单独安装对应的python库。